Styling open shelves in your living room can turn a functional space into a stunning focal point. Whether you want to showcase cherished collectibles or create an organized haven, these tips will help transform your shelves into a visual delight.
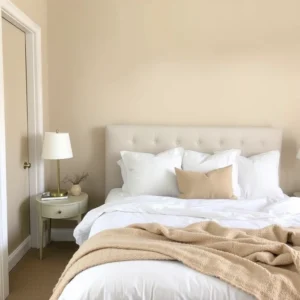
1. Start with a Neutral Palette
Begin by painting your shelves in neutral tones like white, beige, or soft gray. These colors are perfect for creating a clean canvas that allows your decorative pieces to stand out. Trust me, a neutral background is a decorator’s best friend!

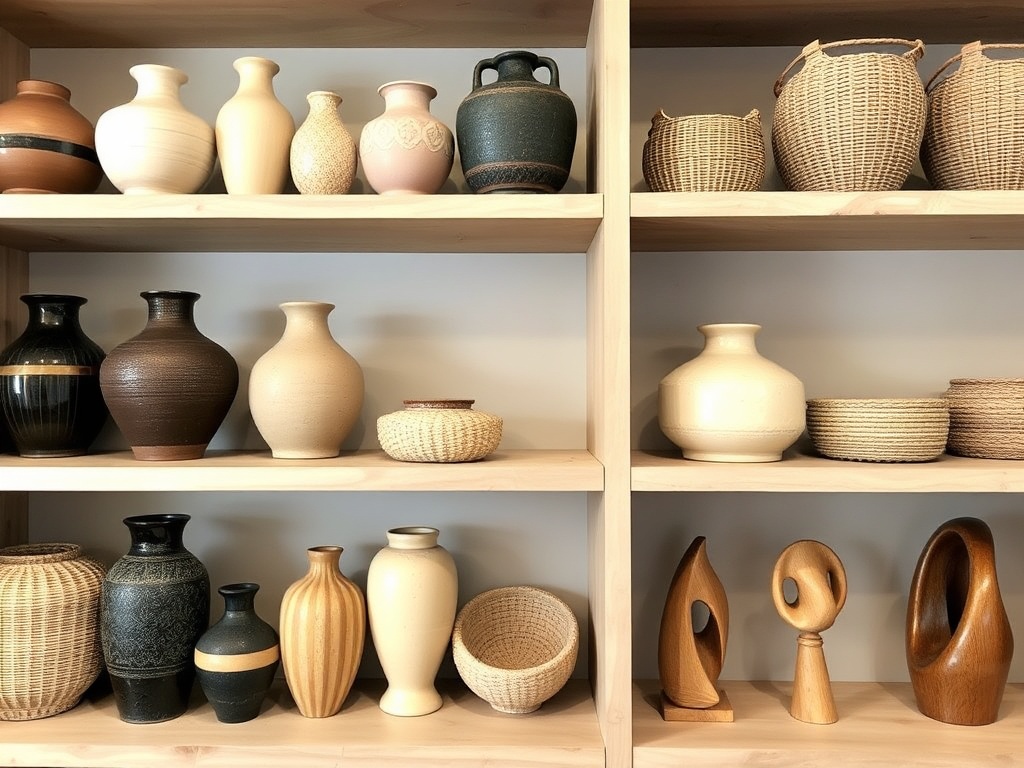
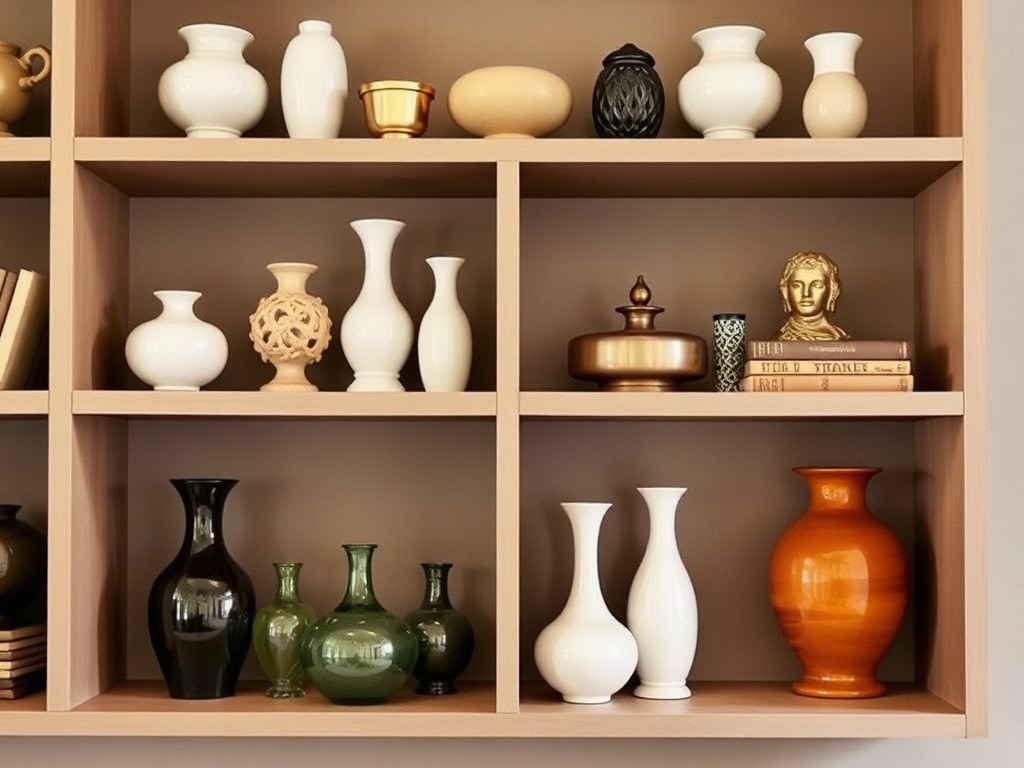
2. Layer Different Textures
Play with textures by mixing materials such as ceramic vases, woven baskets, and wooden sculptures. This mix adds depth and interest, making your shelves feel curated and inviting.
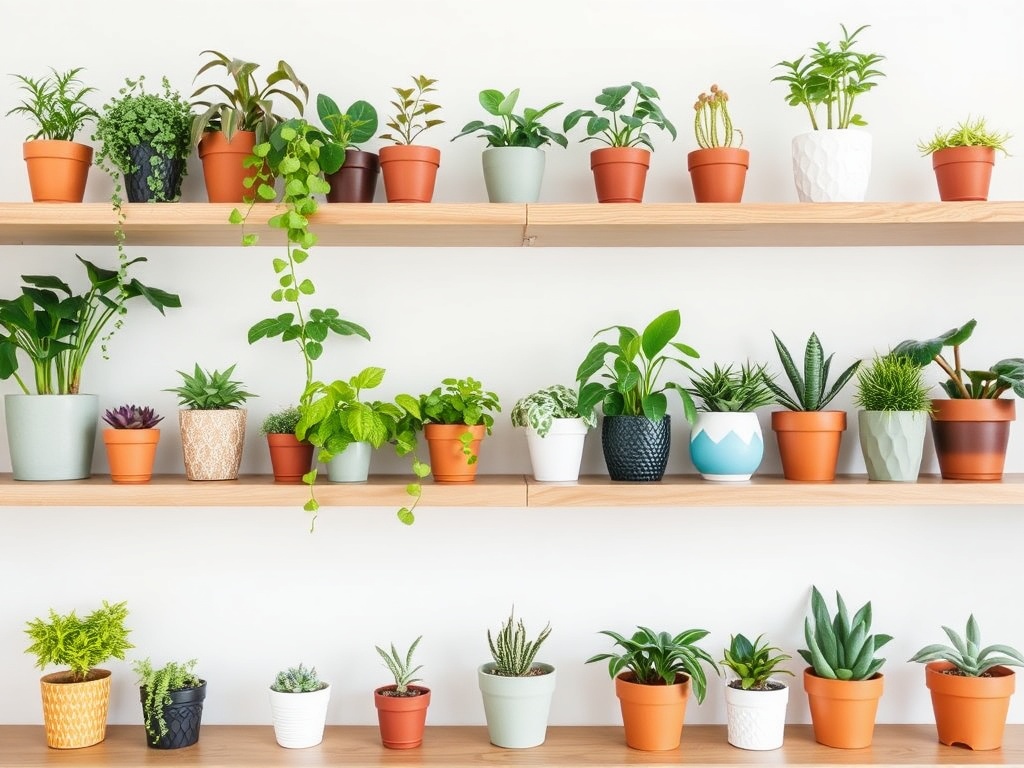
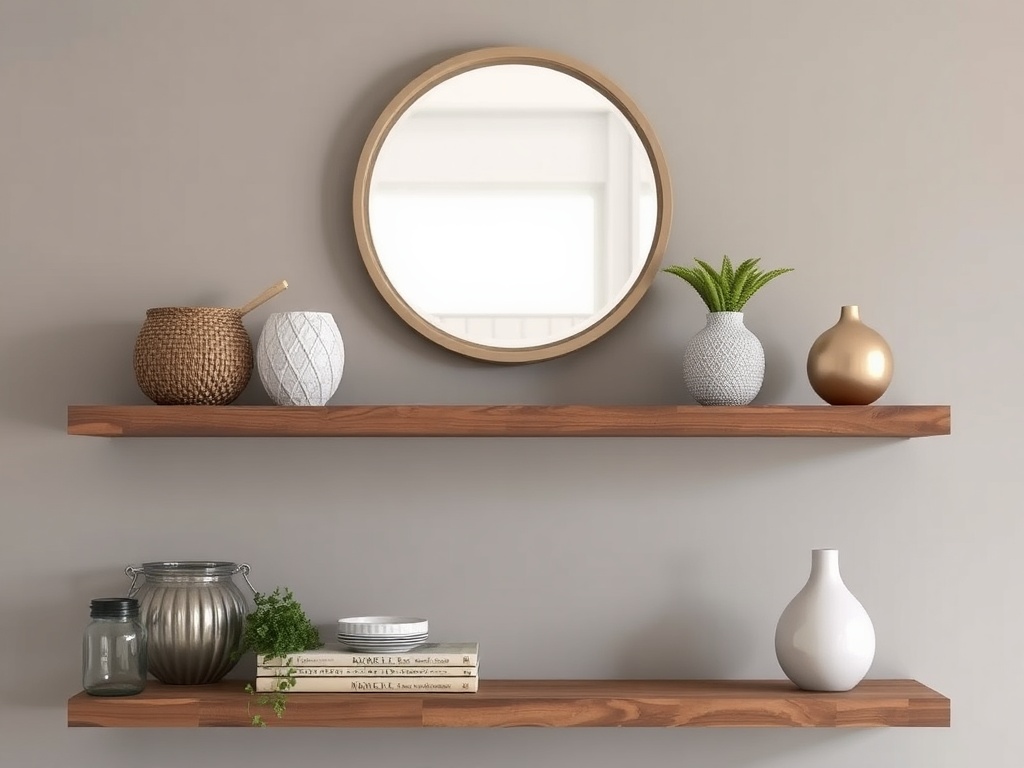
3. Incorporate Greenery
Add life to your shelves with indoor plants or succulents. Place them in decorative pots to introduce a splash of color and freshness. It’s the kind of greenery that keeps your space vibrant and lively.
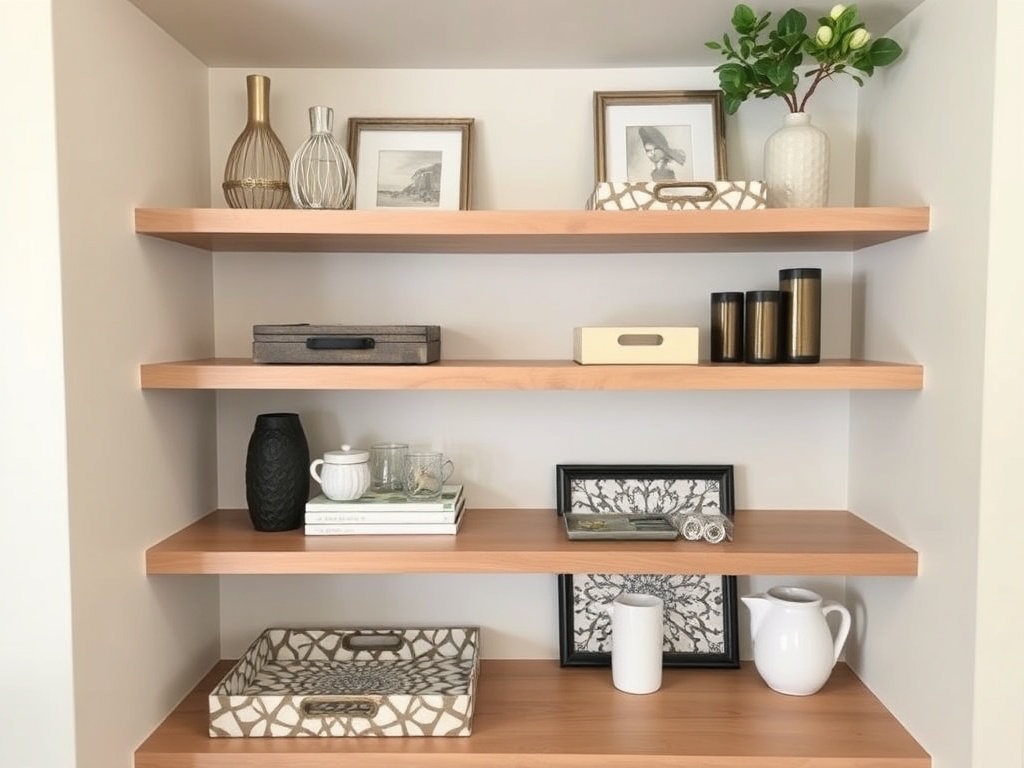
4. Use Books as Art
Books aren’t just for reading; they can be art! Stack them horizontally and vertically to create visual interest. Choose books with colorful spines that complement your room’s color scheme.

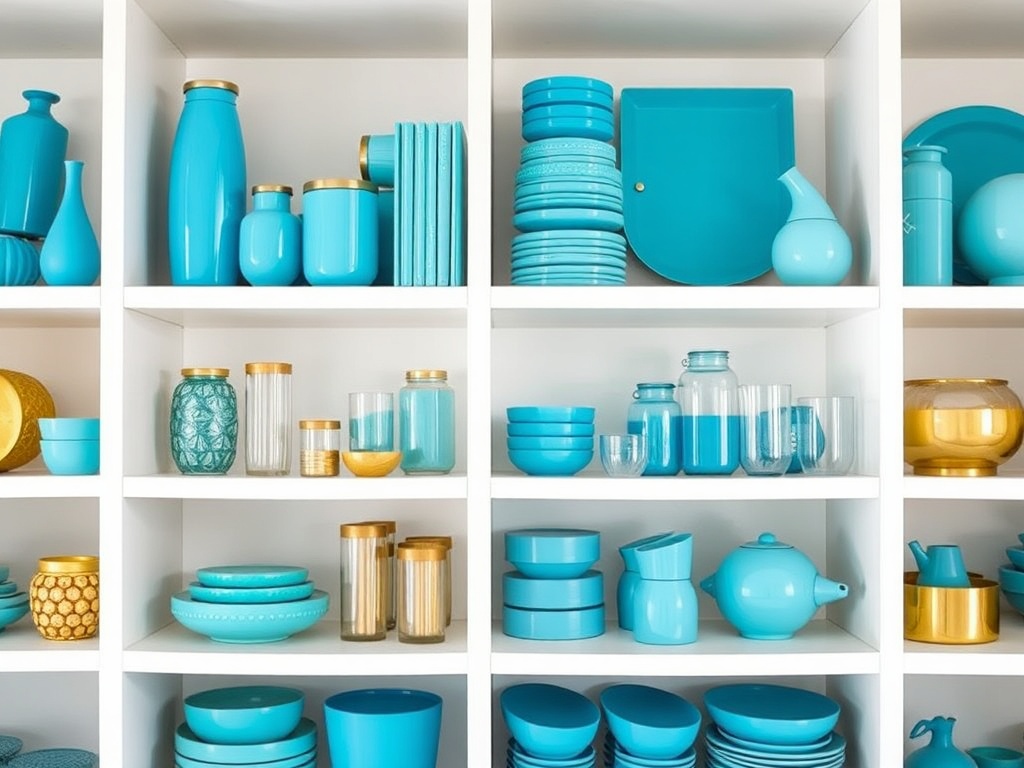
5. Create a Color Story
Select a few key colors and repeat them throughout your shelves. This creates a cohesive look that ties everything together. Think of it as telling a color story that reflects your personal style.
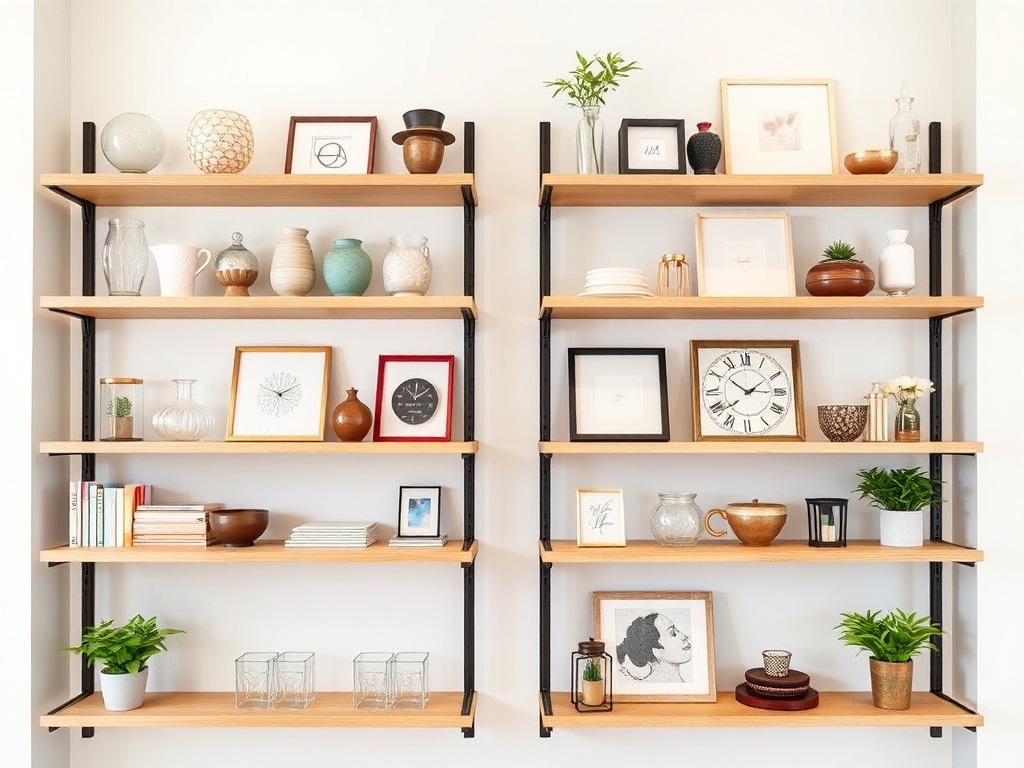
6. Add Personal Touches
Incorporate personal mementos like framed photos or travel souvenirs. These items add personality and make your shelves uniquely yours. It’s all about making your space feel like home.

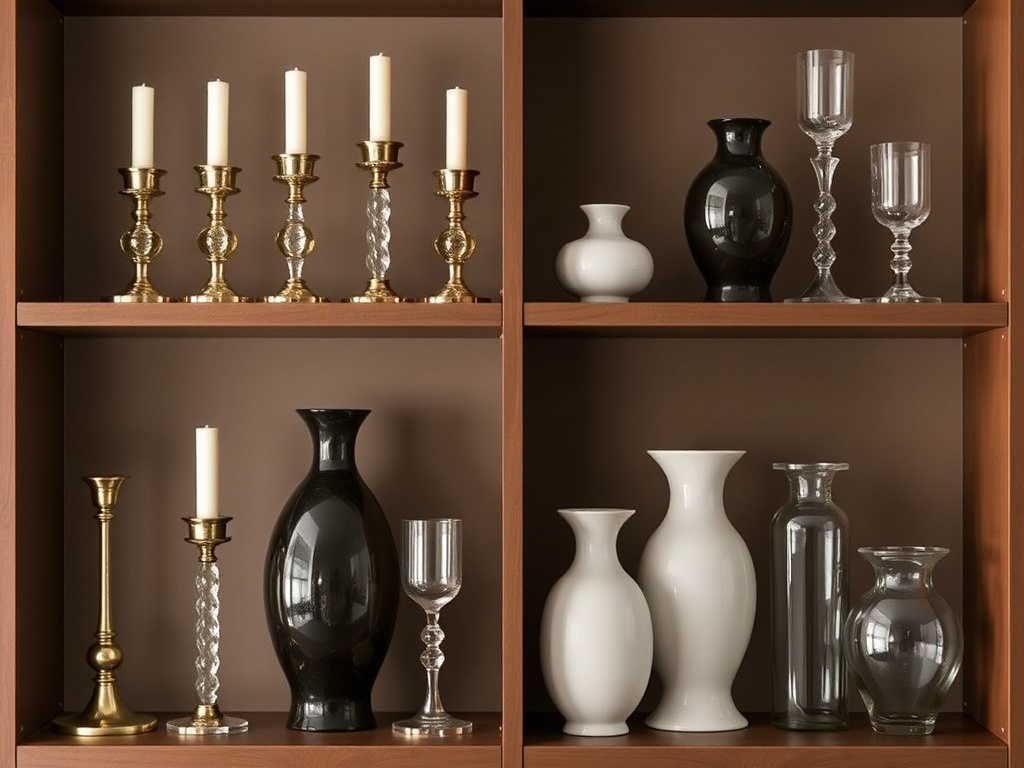
7. Play with Heights
Vary the height of your decorative items to create a dynamic look. Use tall candlesticks alongside shorter vases for a balanced composition. Trust me, this simple trick works wonders!
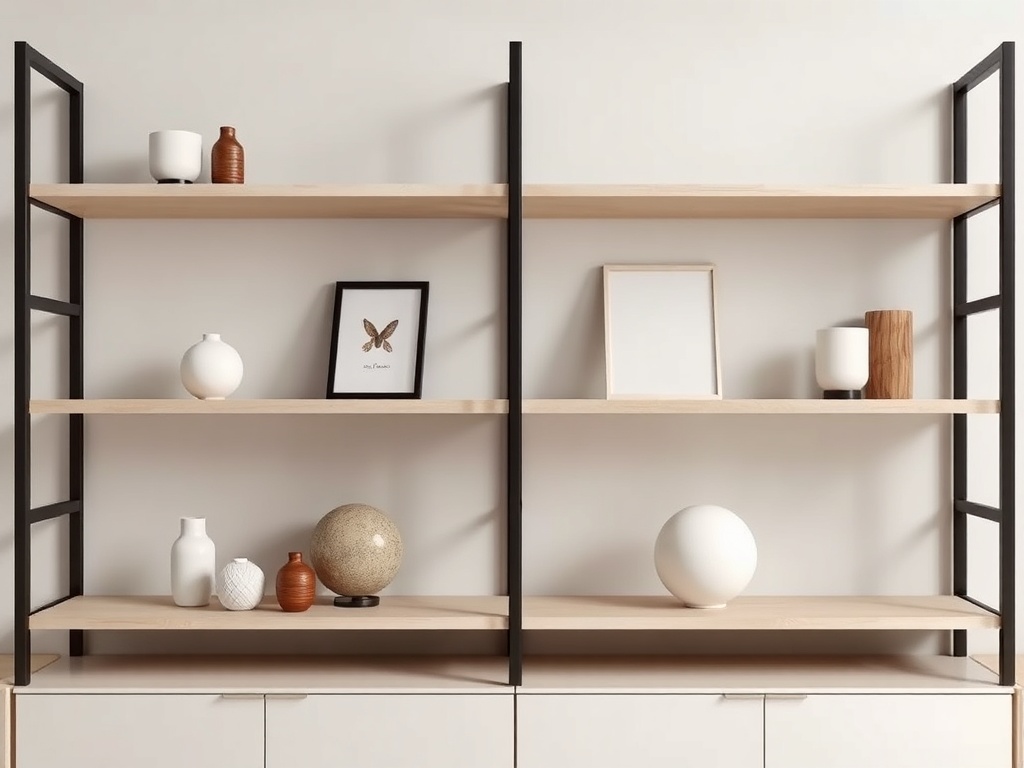
8. Embrace Minimalism
Sometimes less is more. Opt for a minimalist approach by showcasing a few carefully chosen items. This style enhances the elegance and simplicity of your shelves.
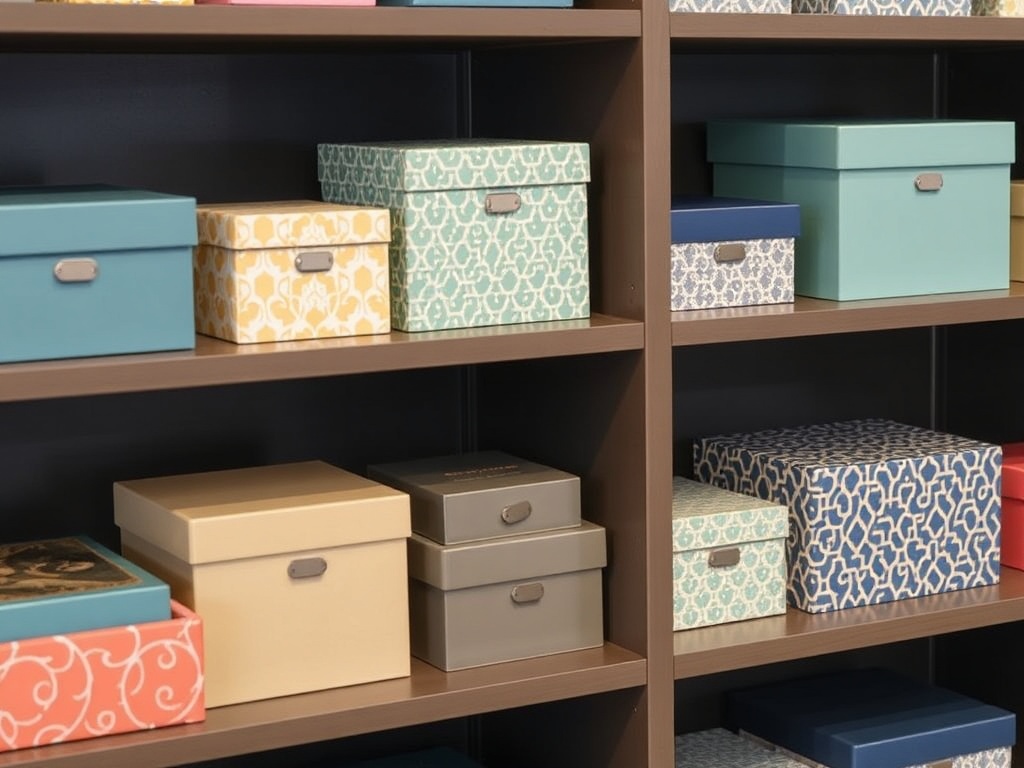
9. Use Decorative Boxes
Decorative boxes are practical and stylish. Use them to store small items while adding a pop of color or pattern. They’re perfect for keeping your shelves tidy and attractive.
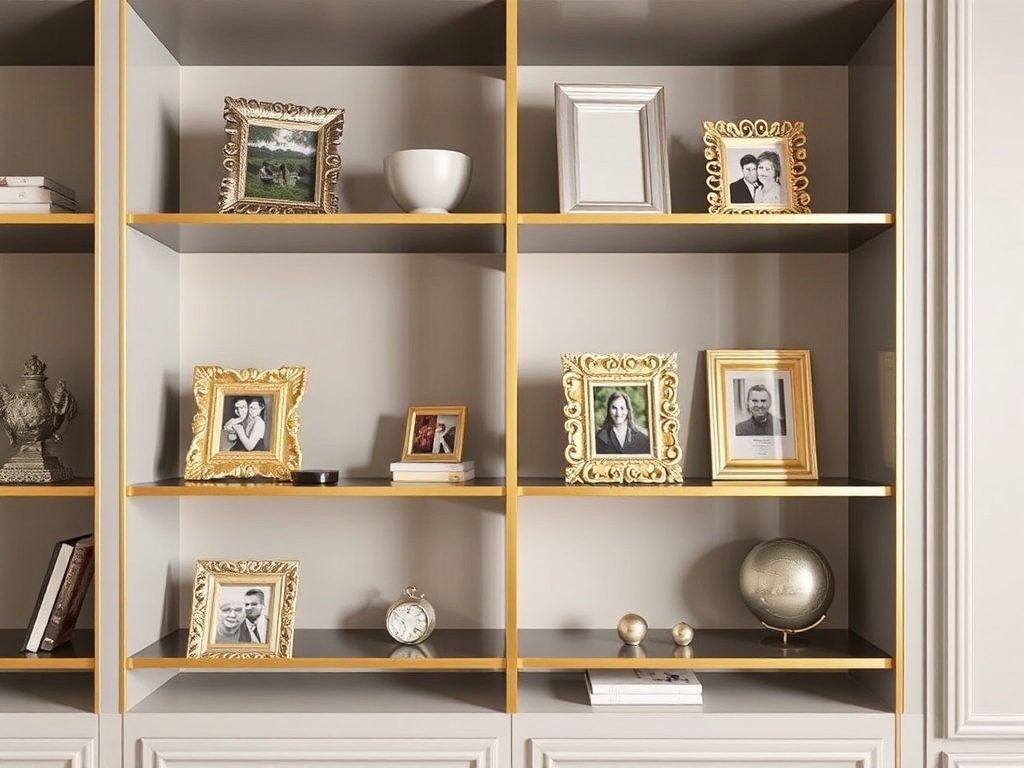
10. Mix in Metallic Accents
Introduce metallic accents like gold or silver picture frames and sculptures. These elements add a touch of glamour and reflect light beautifully, enhancing the overall look.
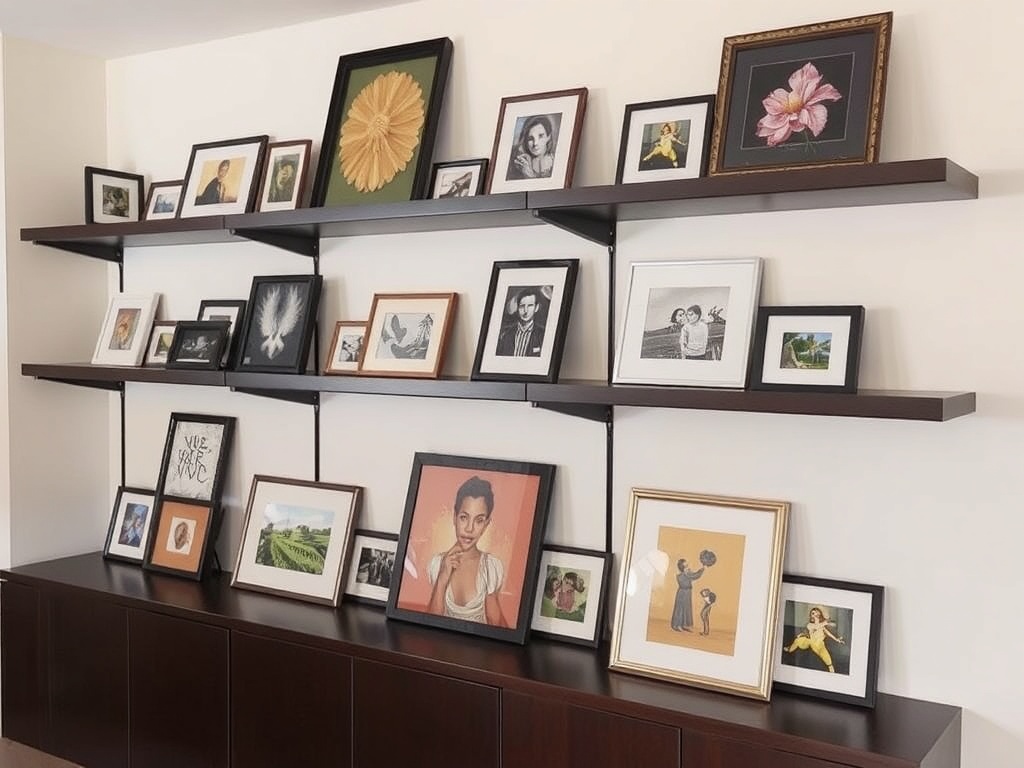
11. Showcase Art Pieces
Lean small pieces of art or framed prints against the back of the shelves. This adds layers and depth, creating a gallery-like effect that’s sure to impress.
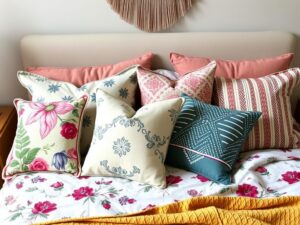
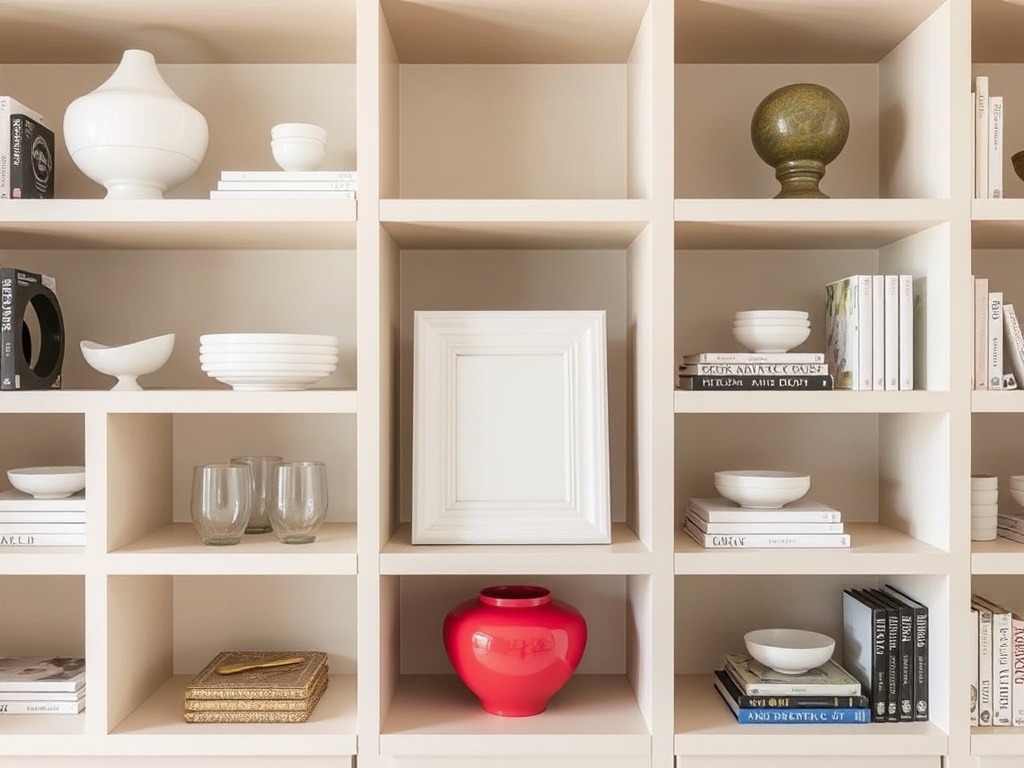
12. Use a Pop of Color
Add a pop of color with a bold vase or a bright picture frame. This unexpected burst of color can make a big impact, drawing the eye and making your shelves a focal point.
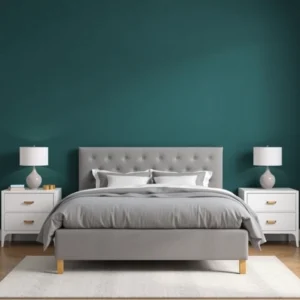
13. Balance Symmetry and Asymmetry
Create interest by balancing symmetrical arrangements with asymmetrical ones. This combination keeps the eye moving and adds an element of surprise.
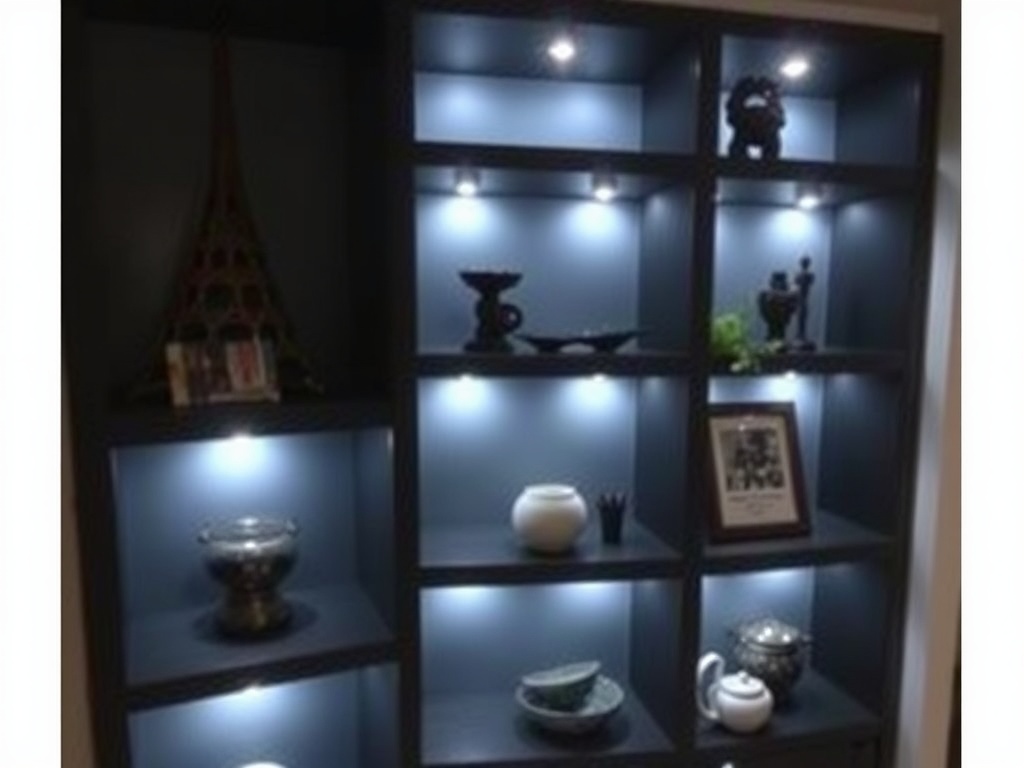
14. Highlight with Lighting
Install small LED lights to highlight your favorite pieces. These lights add warmth and drama, especially in the evening, making your shelves a standout feature.
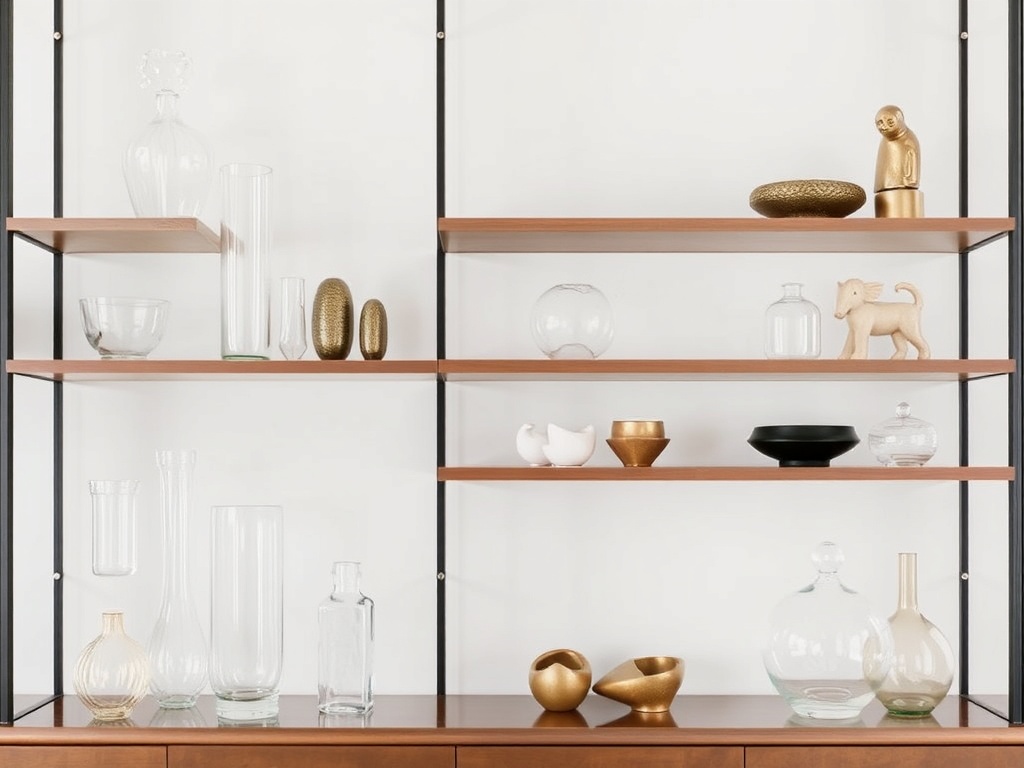
15. Incorporate Glass Elements
Glass items like vases or figurines add an airy feel to your shelves. Their transparency can lighten the visual weight and contribute to a modern aesthetic.
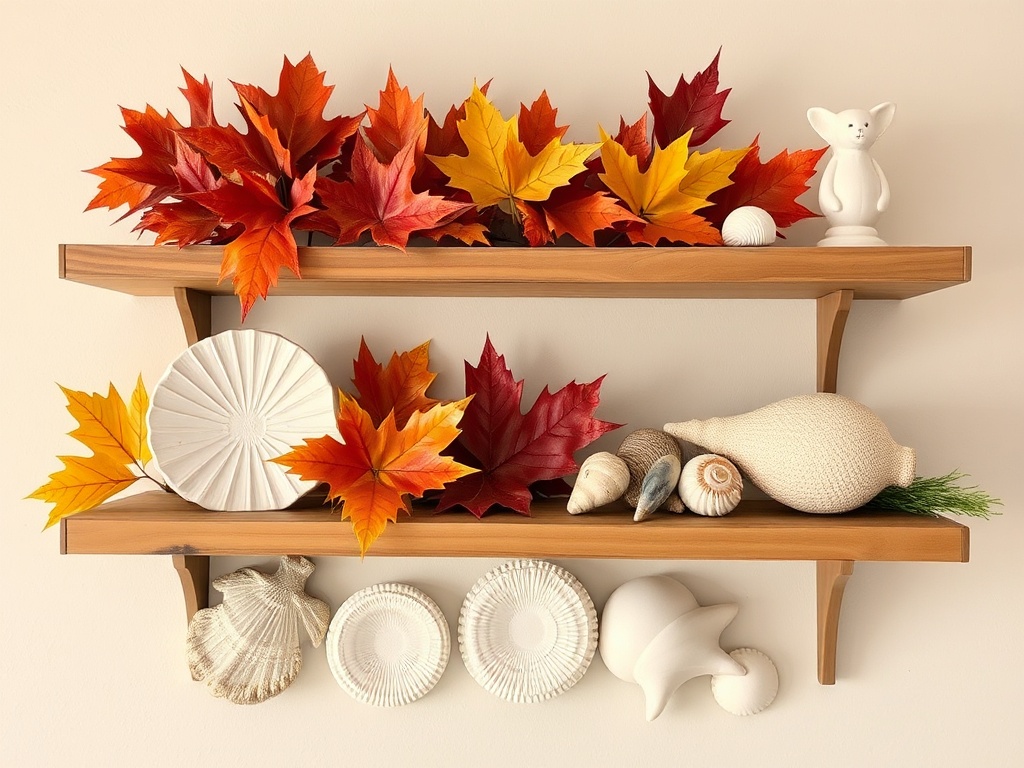
16. Display Seasonal Decor
Rotate items according to the season. Use autumn leaves in the fall or seashells in the summer. It’s a fun way to keep your shelves feeling fresh and relevant year-round.
17. Group Items in Odd Numbers
Group your decorative items in odd numbers like threes or fives. This arrangement feels more natural and pleasing to the eye, creating a harmonious look.
18. Add a Mirror for Depth
Place a small mirror on the shelf to reflect light and create the illusion of more space. It’s a clever trick that adds both style and functionality.
19. Use Trays for Organization
Trays are perfect for organizing smaller items while adding structure to your shelves. Choose trays that complement your decor, whether in wood, metal, or acrylic.
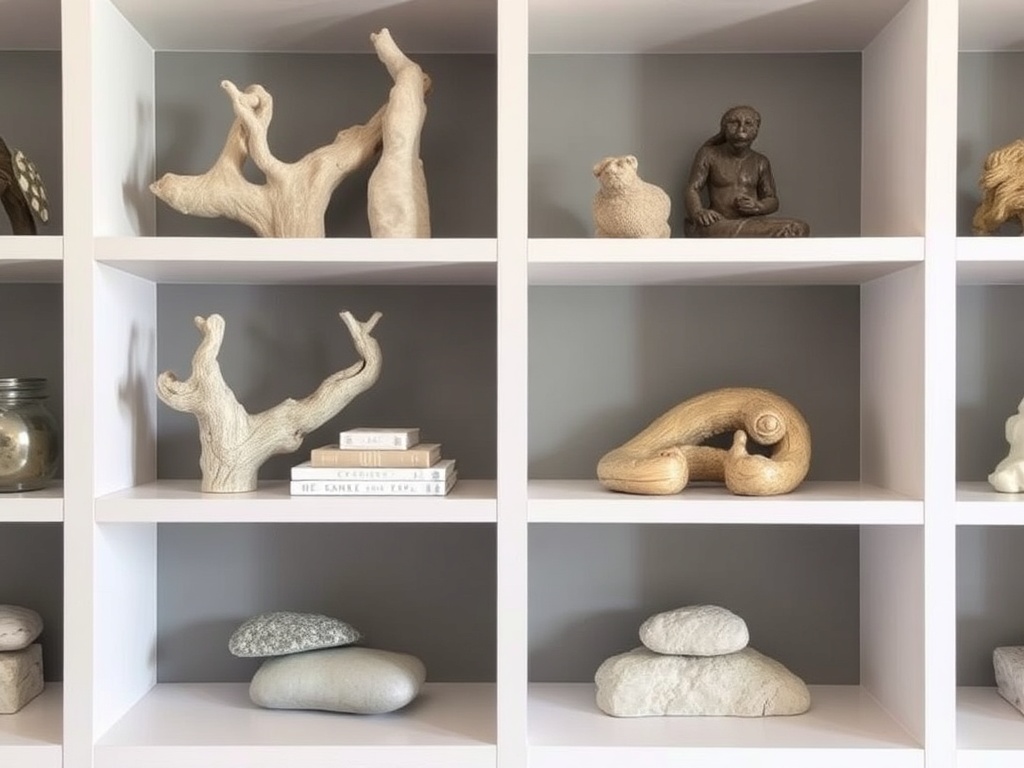
20. Integrate Natural Elements
Incorporate natural elements like driftwood or stone sculptures. These items add an organic touch and enhance the earthy, calming vibe of your living room.
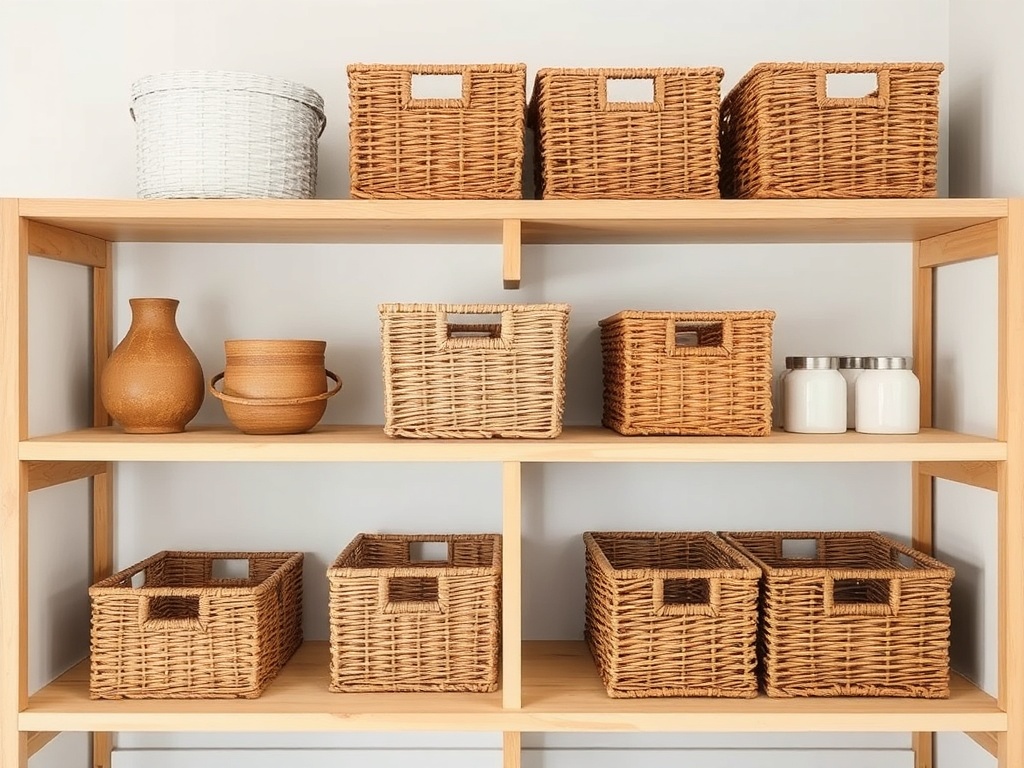
21. Use Baskets for Storage
Baskets are not only practical but also stylish. Use them to hide clutter and add a rustic charm to your shelves. Wicker and woven baskets work particularly well.
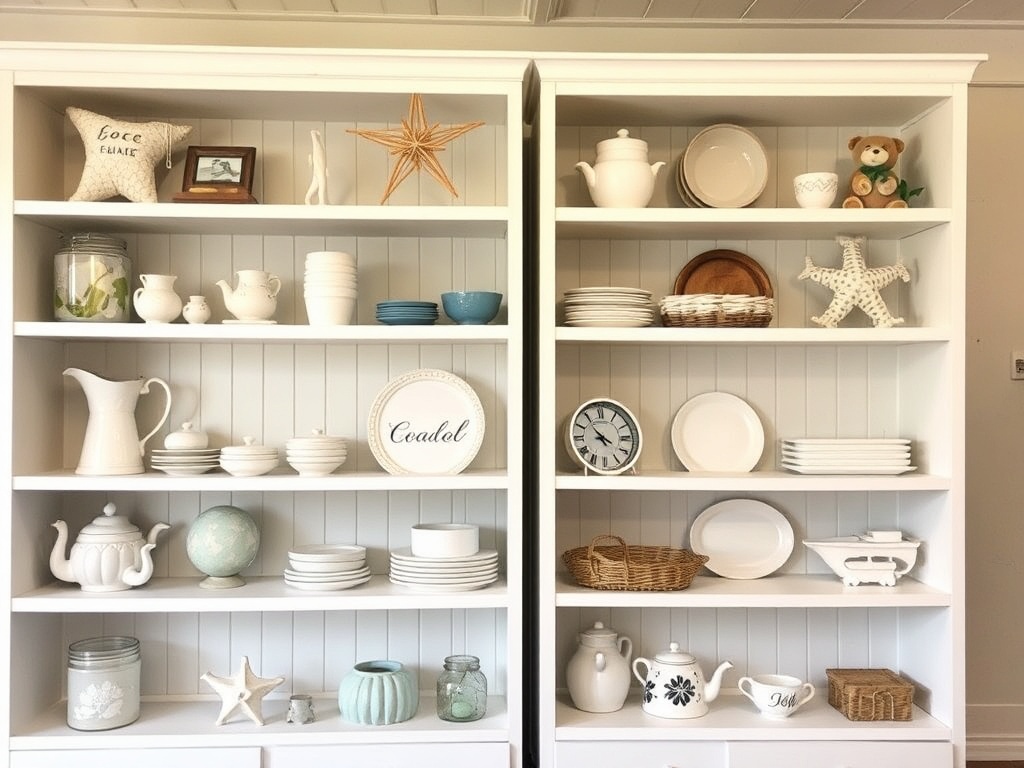
22. Create a Themed Display
Choose a theme, such as coastal or vintage, and select items that fit within it. This focused approach makes your shelves look curated and cohesive.
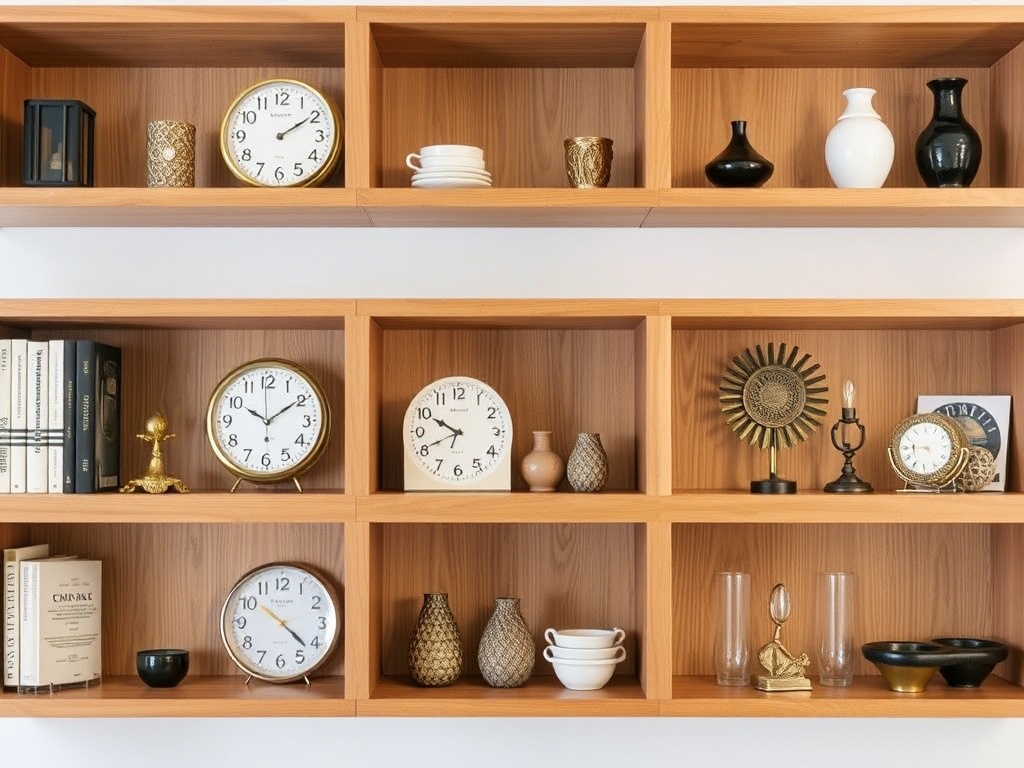
23. Blend Function with Style
Combine functional items like clocks or bookends with decorative pieces. This mix ensures your shelves are both practical and beautiful.
24. Vary the Depths
Play with the depth of your arrangements by layering items. Place smaller pieces in front of larger ones for a multi-dimensional look.

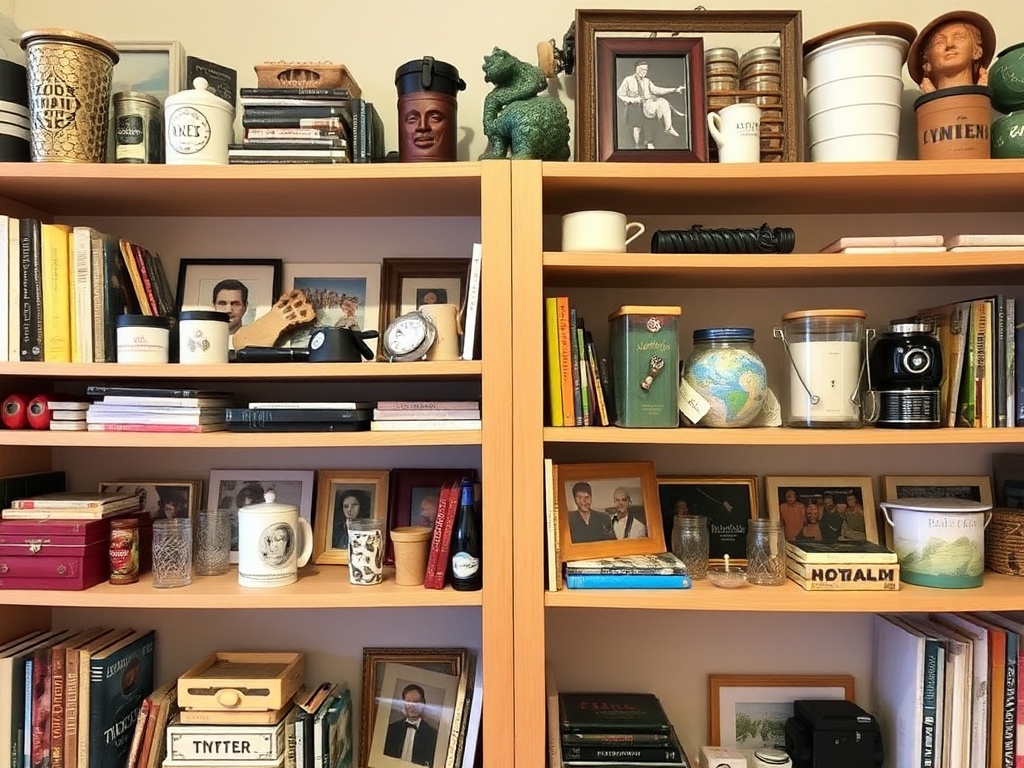
25. Keep It Personal
Ultimately, your shelves should reflect your personality. Choose items that you love and that make you smile. It’s your space, so make it one of a kind!
With these 25 tips, your open shelves are sure to shine in your living room. Remember, the key is to balance style with personal touches, creating a space that’s both beautiful and uniquely yours. Now, go ahead and start styling!